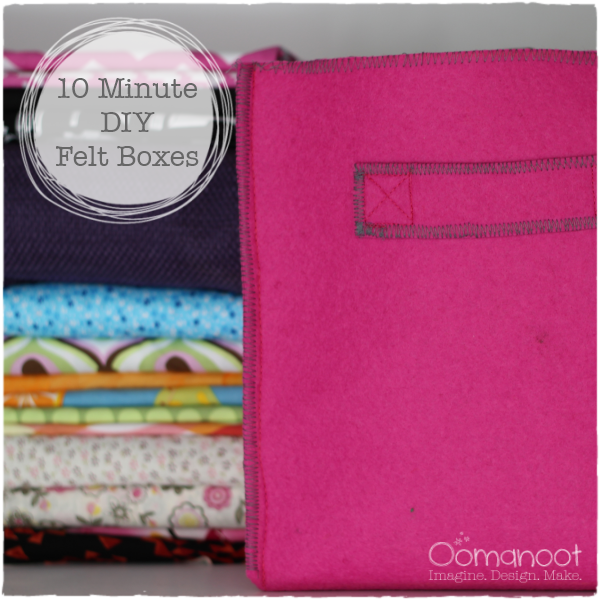
Storage. Storage. Storage. Storage.
I think that if you’re a crafter, you can never have enough of it. There’s always more yarn to buy, a bag of fiberfill you can’t find room for, or scrap fabrics you know you will need some day.
I was almost done organizing my craft space (it’s always a WIP, but almost done this stage), I was only missing a few boxes to store said fabric and yarn in. What I really wanted were folding boxes, the type they have at Target – but there is no Target here, and IKEA didn’t have the right shape and color for what I wanted. I did not want to make them, and I put in a lot of effort trying to find ready made ones but couldn’t. So, I was left with no choice but to make them myself.
I wanted quick and easy, no lining, no interfacing, no hemming and ironing (saving that kind of work for the “good” stuff), so I decided to make them out of some nice, thick felt. You would think that would at least be easy, but apparently – for those of us who live in the land of over priced milk and honey, it was not so easy and I ended up ordering the felt all the way from China.
So, while this post is titled “10 Minute Felt Boxes”, the correct title would be: “Weeks and Weeks of Trying to Avoid Making These Myself and One Month Waiting for the Felt To Arrive and Then Only 10 Minutes to Make Each Box”. And here’s how:
Materials
- 1 square 3mm thick felt, width/height 3 times your finished box dimensions (I assume a square box, height/width/depth all the same).
- Fabric marker – I do not recommend a chalk marker, it is very difficult to get off felt. In fact, I still haven’t gotten all the traces off my boxes. If you have a tip on how to clean the chalk off – please share.
- Fabric scissors or a rotary cutter and mat.
- A ruler.
- Jeans or other heavy weight sewing machine needle.
Instructions
-
Measure and mark: Divide your square into thirds and mark lines across both ways (top to bottom and side to side). Each square in the grid is the in the final dimensions of your felt box.

-
Sew: Fold the felt in half diagonally, so that the grid lines match up at the edges and pin. Sew across the short diagonal lines on the right and left, backstitch at the beginning and end. Cut off the corners, leaving a 1/2 cm (1/4 inch) allowance.

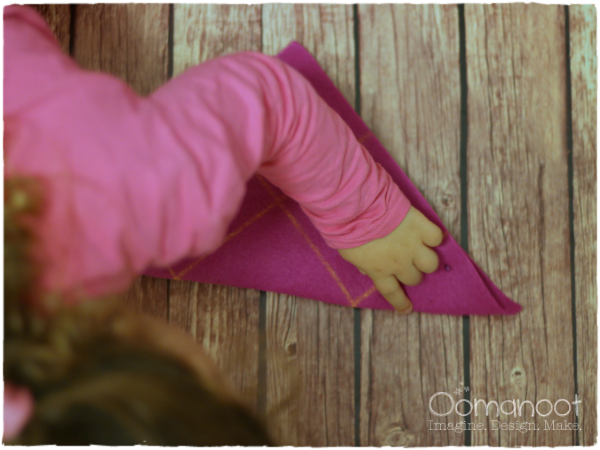
I had some “help”, as usual. She’s checking I put the pins in right, and I’m telling her to leave the pins alone, please (!).

Fold in half diagonally the other way, lining up the grid lines, pin, sew and cut as before. This part is a bit awkward, but other than a bit of bulk – not complicated.
When you cut the corners you are left with smaller squares which can be used for making smaller boxes! Which I did. In fact, the pictures of the process are from one of the smaller boxes I made…
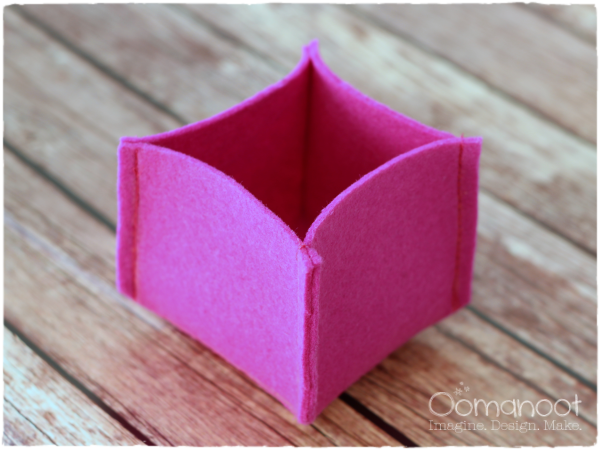
There you go – it’s a box!
-
Embellish (optional): I added a decorative stitch in a contrasting thread on the outside seam allowance and around the top. I also cut a strap from one of the left over felt pieces, sewed a decorative stitch around all four edges and then attached to one side of the box to use as a convenient handle.
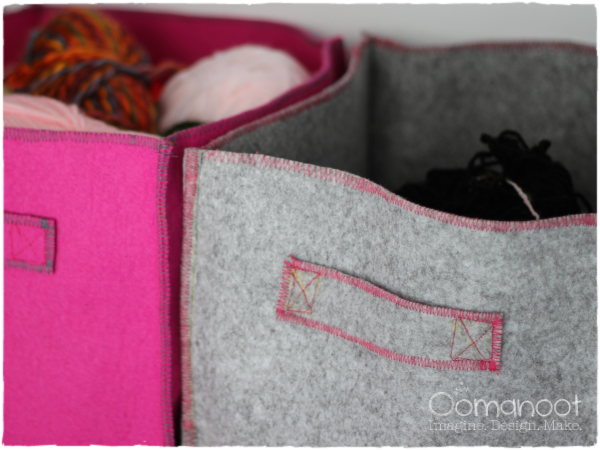 (See that yellow chalk I couldn’t get out? arrrggggg…)
Enjoy!
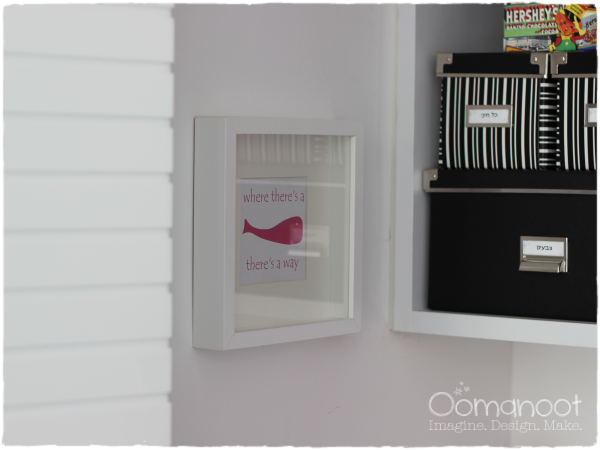
My workspace is now almost complete, with my whale and ironing central and enough storage (at least for now…). There’s always more to do, but I think I’m getting very close to that nice and comfortable space which will help inspire my work. What do you think?

[This tutorial is free for commercial use. Please read the Terms & Conditions for further details.]







[…] Felt Boxes […]
[…] Felt Boxes […]
[…] Boîtes en feutre […]
[…] Felt Boxes […]
[…] Felt Boxes […]
I just discovered how fun – and EASY – working with felt is! I am going to definitely give this a try! Thanks!
Felt is the best! Enjoy 🙂
[…] I think my daughter may need one for her car! Need something that goes together quicker? Try this 10 minute felt box version, […]
I just looked at your boxes, and thought they were quite clever!! Being out of the loop as far as sewing goes, I’m not sure how thick the felt actually is, but I did have a quick thought. The plastic canvas used for needlepoint would work excellent in those to add some stability, and you can still collapse them!! They can be cut to size, and you can put a smaller size of felt over it if you want to cover it up. Just an added step, but the stability is a good factor, especially if you have something a little heavier in it. It’s just a thought. I love the idea, and am going to open up my old Singer, and give your idea a go. Thanks for the great pattern!!
I use those plastic canvases all the time, they really are great for stabilizing items. For these boxes I was going for quick and easy with no extra steps, and the 3mm thick felt is pretty stable on it’s own.
Enjoy your sewing and feel free to share the results, I’d love to see what you made 🙂
[…] Rina from Oomanoot shows how you can make an easy felt storage box in just 10 minutes. The felt makes this a quick project because there’s no need for lining, interfacing, hemming, or ironing. You can make them in any size, from a small box to hold jewelry or office supplies, to a storage box big enough to organize your craft supplies or your child’s toys. Go to Oomanoot for the tutorial. […]
Hello! Could you clarify the second folding/sewing/cutting step? I don’t understand how to fold that shape diagonally the other way.
You’re folding the fabric diagonally the other way, exactly as you folded the first time – only because the sides are already sewn together, it kind of bunches up. I tried to take a picture of this stage, but it was even more confusing than just describing it…
If the center square is folded diagonally down the middle and the side marks line up – you’re fine.