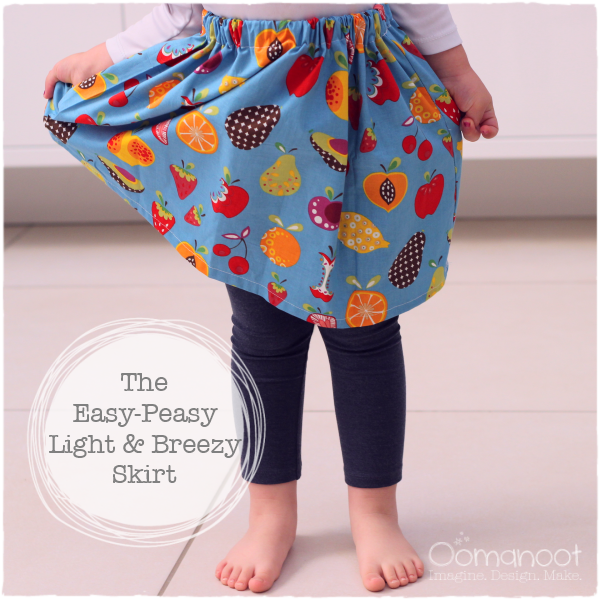
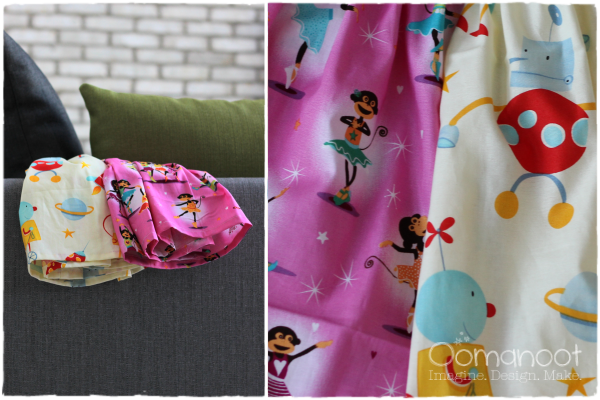
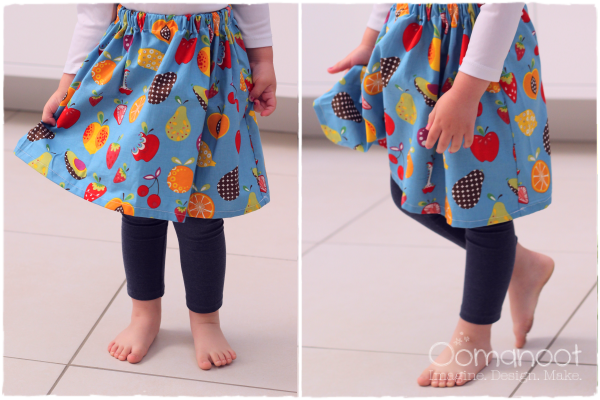
We didn’t have much of a winter this year at all. It was warm-ish during all the months which should have been cold, but the second spring arrived it became scorching hot (and then it rained for a couple of days). Weird weather is upon us. In any case, it is clear that it’s time for some summer clothes. I must admit that I don’t usually sew clothes for my kids, because it’s a lot of effort for something I can buy easily and cheaply in a store, but this skirt is so easy and I got to use such fun fabrics (I mean, dancing ballerina monkeys? What could possibly be better than that?). It was totally worth the effort.
Materials
- 1” wide elastic, 18” long (or 4” less than your waist measurement)
- 1 rectangle of fabric 44” wide and 20” long.

- Safety pin or other tool for inserting elastic
- Standard sewing notions
Notes
- These measurements are for a 3 and 3 quarters year old girl (that’s what she said), but can be adjusted to fit any size. What’s nice about this size is that it fits perfectly into half a yard of fabric. If you want the skirt to have more of a flair – make the width 2.5-3 times your waist measurement.
- If you can’t fit your width into the width of the fabric, cut two rectangles and join them on both sides with a french seam (step 1 below) instead of just on one side.
Instructions
-
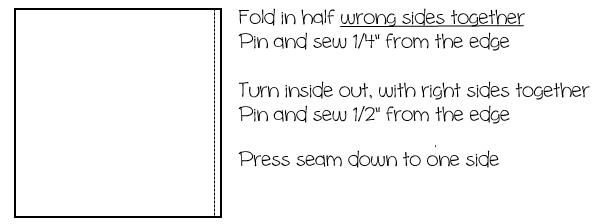
Skirt body: We will be creating a french seam so that there are no exposed edges to serge or zigzag. With a skirt it’s quite easy and much neater – especially if you don’t have a serger.Fold the fabric in half lengthwise, wrong sides together, pin and sew 1/4″ from the edge. Turn the skirt inside out, and sew the same edge again – 1/2″ from the edge.
Press the seam to one side
-
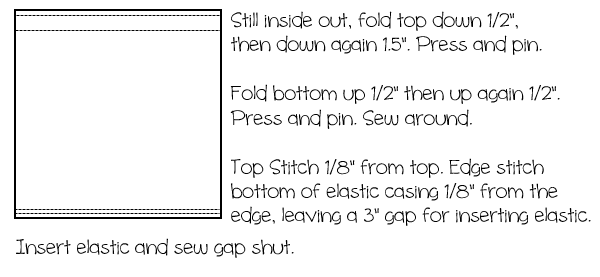
Sew the elastic casing and hem: With the skirt still inside out, Fold over the top 1/2″ down and then again 1.5″ (this will be the elastic casing). Press and pin.Fold over the bottom 1/2″ up and then again 1/2″ up. Press and pin.
Sew around the bottom hem.
Top stitch 1/8″ from the top edge of the skirt. Edge stitch 1/8″ from the bottom edge of the elastic casing, leaving a 3″ gap for inserting the elastic.
Insert the elastic using a safety pin. Sew the gap closed.
Enjoy!
[This tutorial is free for commercial use. Please read the Terms & Conditions for further details.]







beautiful happy skirt! amazing photos too!
♥♥♥