
I was looking for a place to put my iron inside my sewing space, in a convenient way: It shouldn’t take up any room on the desktop, and keep the leg space interruption to a minimum. It would have to have easy access to electricity, but not be plugged in all the time (safety first!). I wanted something cheap, so I wasn’t going to get something custom made, and even though it’s on my long term wish list, I don’t do much any carpentry, so making it myself was not an option.
When in doubt: IKEA.
I looked through all of their office and living room and kids furniture and found nothing which was narrow enough, short enough, tall enough etc. Eventually, I stumbled upon the OLTEDAL nightstand. I looked over the measurements and instructions very carefully, and the very next day stopped by the IKEA near me and bought it.
I assembled it without inserting the back because (1) I wanted easy access to be able to plug in the iron and (2) I wanted to use the back as a pressing board for small items. It obviously won’t be enough for making large items, but for small blocks which need pressing – it would save me a lot of fuss getting the ironing board out.
I got the idea here, and here’s how it’s done (it’s really quite simple):
Materials
- OLTEDAL back or a piece of plywood.
- A staple gun and staples.
- 2 scrap pieces of batting approx. 2 inches wider and longer than your surface.
- 1 piece of fabric approx. 4 inches wider and longer than your surface

Instructions
- Center both layers of batting on top of your fabric (right side down), then place your surface on top of all the other layers.

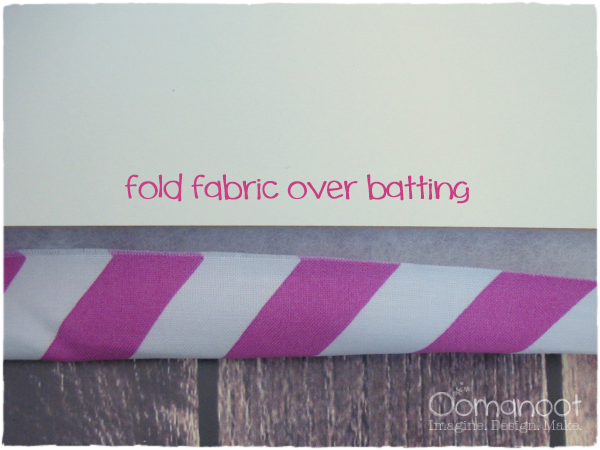
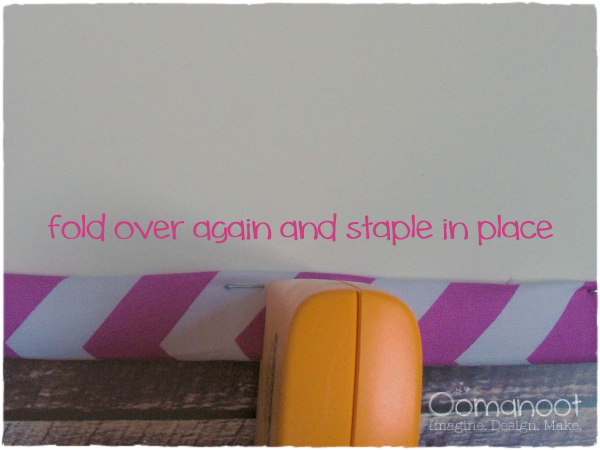
- Fold fabric over batting, then fold all three layers over again and staple into place.
- When you reach the corners, trim the excess fabric and fold under to create a neat corner.

Enjoy!
P.S.
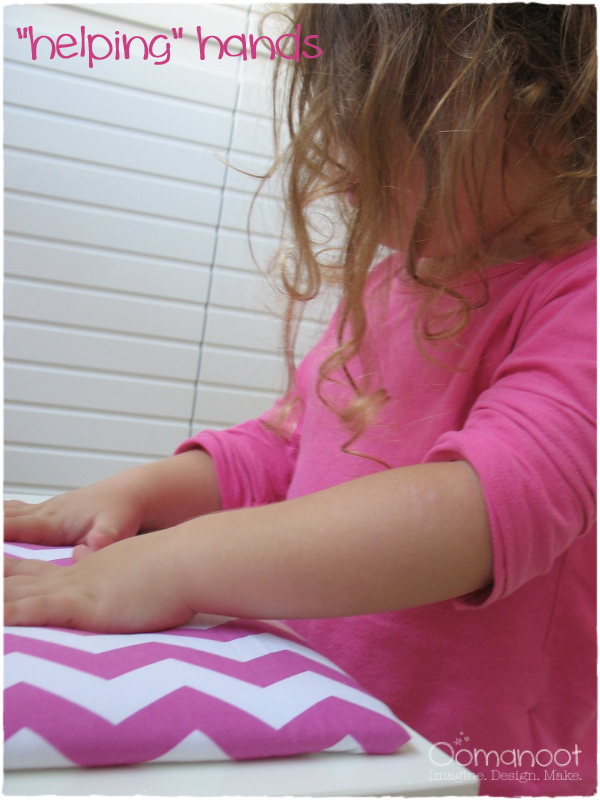
And of course, I can never get anything done without little “helping” hands.
[This tutorial is free for commercial use. Please read the Terms & Conditions for further details.]







[…] workspace is now almost complete, with my whale and ironing central and enough storage (at least for now…). There’s always more to do, but I think I’m […]
Beautiful, Rina!
I love your creative ideas! I totally agree that IKEA is a great place to find items to use as is and/or to use as a beginning of a wonderful creation…
Thanks! I’m so lucky to have an IKEA 10 minutes from my house, I can just drop by and get whatever I need 🙂